
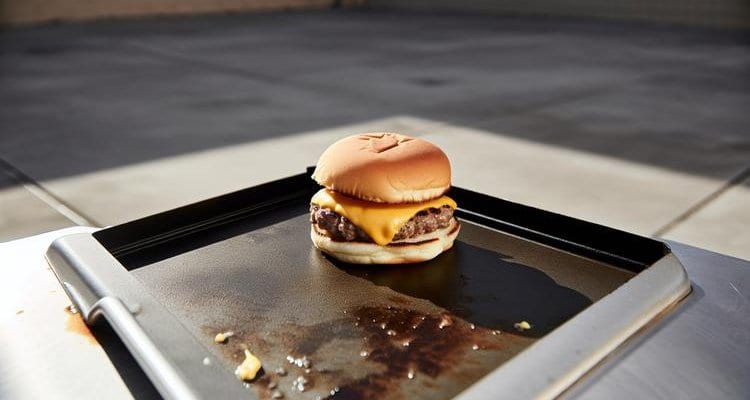
There’s something almost magical about that first bite into a perfectly executed smash burger—the audible crunch of the ultra-thin, caramelized crust giving way to a juicy, beefy interior. While restaurant chains have built empires on this technique, your Blackstone griddle is the secret weapon that brings this experience home. With its massive flat-top surface and incredible heat retention, the Blackstone transforms simple ground beef into burger shop perfection in just minutes.
The smash burger isn’t just another grilling method—it’s a celebration of the Maillard reaction, that beautiful chemical transformation that creates deep, complex flavors through high-heat contact. When you press that beef ball onto a screaming-hot griddle surface, you’re maximizing the contact area where this magic happens. The result? A crust so crispy and flavorful that it rivals any burger joint, all while keeping the interior impossibly juicy.
Why Blackstone Griddles Make the Best Smash Burgers
If you’ve ever wondered why restaurant smash burgers taste different from backyard grill burgers, the answer lies in the cooking surface. Traditional grill grates simply can’t provide the flat, consistent contact needed for that signature crust. The Blackstone’s expansive flat-top surface solves this perfectly, giving you restaurant-level results with these key advantages:
Even Heat Distribution: The thick steel cooking surface retains and distributes heat uniformly, ensuring every burger develops the same perfect crust from edge to edge. No hot spots, no undercooked centers—just consistent perfection.
Maximum Surface Contact: Unlike grill grates that only touch the meat in narrow strips, the Blackstone provides total surface contact. This maximizes the Maillard reaction and creates that signature crispy crust that defines a true smash burger.
Temperature Control: With Blackstone griddle techniques, you can dial in the perfect 400-450°F sweet spot for smash burgers and maintain it throughout cooking. This precise temperature control is what separates good burgers from extraordinary ones.
- Blackstone extra long griddle spatulas — for flipping thin smash burgers without mess
- SanKonfu cast iron burger press — gives patties firm, even contact with hot griddle
- Celox flat top grill scraper — quickly reset griddle surface between food batches
How Do You Choose the Right Beef and Form Perfect Balls?
Ground chuck with an 80/20 lean-to-fat ratio is non-negotiable for smash burgers. Leaner beef (90/10 or 93/7) will produce dry, cardboard-like patties that defeat the entire purpose. You need that 20% fat content to keep the interior juicy while the exterior crisps to perfection.
Portion and handle the beef for a thin crust without a dense interior:
- Weigh 2.5-3 ounces per ball: This golf-ball-size portion spreads thin enough for maximum crust while retaining enough mass to stay juicy.
- Form each ball gently: Loosely gather the meat like a snowball instead of compressing it like clay.
- Avoid overworking the beef: Tightly packed meat becomes dense and tough, while a loose ball expands more readily when smashed.
Keep the portions light and consistent so every patty cooks at the same pace.
Keep your formed beef balls refrigerated until the moment you’re ready to cook. Cold beef sears better and gives you a few extra seconds to perfect your smash before it starts cooking too aggressively.
The Secret to No-Stick Smashing
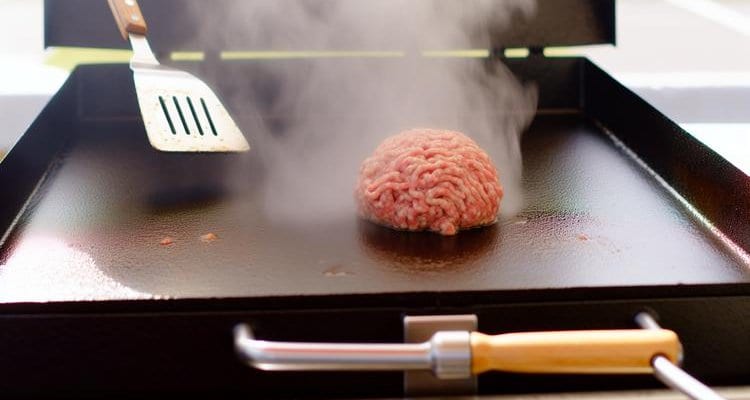
Use the sear-first method to keep raw beef from adhering to the press:
- Start the ball unsmashed: Set it on the hot griddle and leave it for 30-60 seconds.
- Flip the lightly seared side upward: The thin crust now sits between the raw beef and your tool.
- Smash firmly: Press with confidence; the seared barrier allows a clean release without parchment paper.
The short pre-sear improves release while still leaving plenty of raw surface against the griddle for crust development.
This technique came from testing dozens of smash burgers and watching the raw meat stubbornly stick to every surface imaginable. The sear-first approach changes everything, giving you clean releases every single time while actually improving the final crust development.
How Do You Master the Smash Technique?

Commit to each stage once the beef reaches the griddle:
- Smash once: Use a sturdy grill press for smash burgers or two crossed spatulas and press steadily for 10-15 seconds until the patty is about ¼-inch thick.
- Season immediately: Add salt and pepper after smashing, while the broad surface is exposed.
- Leave the first side undisturbed: Cook for 2-3 minutes, until the edges brown and curl slightly upward.
- Flip and melt: Cook the second side for 60-90 seconds, add cheese, and cover with a melting dome or inverted metal bowl for 30-60 seconds.
A single firm smash and one flip protect the crust and keep the short cook predictable.
Achieving the Perfect Cheese Melt
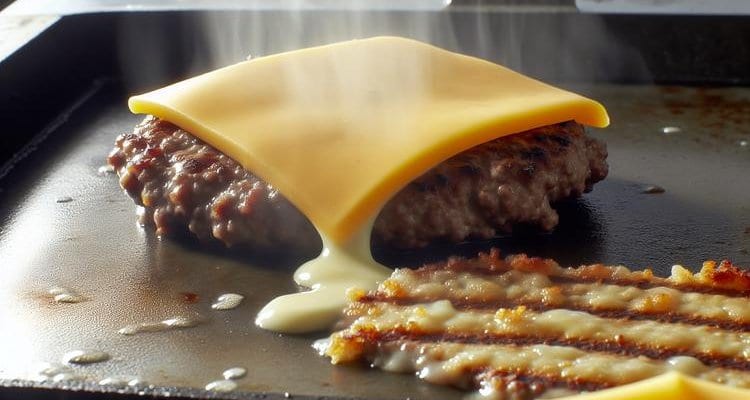
American cheese is the gold standard for smash burgers—it melts quickly, evenly, and creates that classic burger shop drape over the patty edges. Add it during the final minute of cooking to prevent overcooking the beef while waiting for the cheese to melt.
For those who prefer cheddar, sharp cheddar, or pepper jack, the same timing applies, though these cheeses melt slightly slower. The dome technique becomes even more critical with natural cheeses to trap heat and accelerate melting.
A metal basting dome or an upside-down metal bowl works well for this. If you don’t have one, a splash of water next to (not on) the patty and a quick cover with a large lid traps enough steam to speed up melting without making the crust soggy.
Don’t Skip the Bun Toasting
Toast the buns while the cheese melts:
- Butter the cut sides lightly: A thin coat promotes even browning without making the bread greasy.
- Place them cut-side down: Use an open section of the griddle.
- Toast for 60-90 seconds: Pull the buns when the surface is crisp and golden.
The toasted face resists burger juices and adds a buttery contrast to the tender interior.
Standard sesame buns work fine, but potato buns and brioche buns hold up better to juicy patties without going soggy, thanks to their slightly denser crumb. Whichever you choose, toast them cut-side down only — toasting the outside as well just dries out the bread without adding flavor.
For more fundamental burger techniques, check out our guide on grilling the perfect burger, which complements these smash burger methods perfectly.
Popular Smash Burger Variations
Once you have the base technique down, these are the most popular ways to switch things up without abandoning the simple salt-and-pepper crust that makes this method work.
- Oklahoma-style onion smash: Spread a thin layer of shaved onions on the griddle before dropping the beef ball on top, then smash the patty directly into the onions. The onions caramelize into the crust as the burger cooks, adding sweetness and moisture without any extra steps.
- Mustard-fried crust: Squirt a thin layer of yellow mustard onto the raw beef ball just before smashing. The mustard sears directly into the crust as it cooks, adding a tangy edge that plain salt and pepper can’t replicate.
- Bacon fat for extra flavor: If you want more savory depth than a neutral oil provides, cook a batch of bacon first and use a spoonful of the rendered fat to grease the griddle before smashing. It has a lower smoke point than avocado or vegetable oil, so keep the griddle at the lower end of the 400-450°F range if you go this route.
- Homemade special sauce: Whisk together mayonnaise, ketchup, yellow mustard, dill pickle relish, and a dash of garlic powder for a quick burger sauce that adds the tang and creaminess a plain cheeseburger is missing.
Frequently Asked Questions
What temperature should my Blackstone be for smash burgers?
Preheat your Blackstone to 400-450°F (medium-high heat). This temperature range is hot enough to create rapid Maillard reaction and crust development without burning the exterior before the interior cooks. Use an infrared thermometer to verify your griddle temperature, or test with a few drops of water—they should dance and evaporate within 2-3 seconds at the right temperature.
Can I make smash burgers ahead of time?
Form your beef balls up to 24 hours in advance and refrigerate them on a parchment-lined plate, covered with plastic wrap. However, cook the burgers immediately before serving—smash burgers are best enjoyed fresh off the griddle when the crust is at its crispiest.
What’s the best beef-to-bun ratio for smash burgers?
For standard burger buns, use 2.5-3 ounce beef balls, which create patties roughly 4 inches in diameter after smashing. This size matches typical bun dimensions perfectly. For sliders, reduce to 2-ounce portions.
Do I need parchment paper to prevent sticking?
No parchment paper needed when using the sear-first technique. Let your beef ball sit for 30-60 seconds to develop a light sear, flip it seared-side-up, then smash. The seared crust prevents sticking naturally, making parchment paper unnecessary.
How do I know when my smash burger is done?
Smash burgers cook incredibly fast due to their thinness—usually 2-3 minutes first side, 60-90 seconds second side. The burger is done when the edges are deeply browned and slightly crispy, and the cheese has melted. For food safety, the internal temperature should reach 160°F, though the thin patties typically exceed this easily.
What’s the difference between smash burgers and regular grilled burgers?
Smash burgers are pressed thin on a flat griddle surface to maximize crust development through Maillard reaction, creating an ultra-crispy exterior with a juicy interior. Regular grilled burgers are thicker, cooked on grill grates, and develop char marks instead of a full crust. Smash burgers cook much faster and prioritize crust over thickness.
Do you need oil on the Blackstone for smash burgers?
A light layer of oil helps prevent sticking before the beef ball hits the griddle, but you don’t need much — the burger renders its own fat as it cooks. Use a high smoke point oil like avocado or vegetable oil, and wipe the griddle down between batches since the sear-first technique already does most of the anti-stick work.
What’s the best seasoning for Blackstone smash burgers?
Kosher salt and coarsely ground black pepper are all you need, applied generously right after smashing while the surface is still open. If you want more depth, a pinch of garlic powder or onion powder works well, but keep it simple — the crust itself provides most of the flavor, and heavy seasoning blends can overwhelm the beef.
Blackstone Smash Burger Recipe
Equipment
- Blackstone griddle or flat top grill Preheated to 400-450°F
- Burger press or two sturdy metal spatulas For smashing patties thin
- Cheese melting dome or large metal bowl Optional but recommended for quick cheese melting
- Infrared thermometer For accurate griddle temperature
Ingredients
For the Burgers
- 1 pound ground chuck 80/20 lean-to-fat ratio
- 1 tablespoon neutral oil canola or vegetable oil for griddle
- 1 teaspoon kosher salt for seasoning after smashing
- 1/2 teaspoon black pepper freshly ground
For Assembly
- 4 slices American cheese or cheddar, pepper jack
- 4 burger buns preferably potato or brioche
- 2 tablespoons butter softened, for toasting buns
Optional Toppings
- 4 leaves lettuce iceberg or romaine
- 1 medium tomato sliced
- 1/4 cup sliced pickles dill or bread-and-butter
- 1/4 cup diced onions raw or caramelized
- 1/4 cup special sauce or ketchup your choice
Instructions
- Preheat your Blackstone griddle to 400-450°F (medium-high heat). Test temperature with a few drops of water—they should dance and evaporate within 2-3 seconds.
- Divide ground chuck into 4 equal portions (4 ounces each). Gently form into loose balls without overworking the meat. Refrigerate until ready to cook.
- Lightly oil the hot griddle surface. Place beef balls on griddle and let sit for 30-60 seconds to develop a light sear on the bottom.
- Flip each ball so the seared side faces up. Using a burger press or two crisscrossed spatulas, press down firmly for 10-15 seconds until beef is about ¼-inch thick.
- Immediately season the smashed patties generously with salt and pepper. Do not move or disturb the patties.
- Cook for 2-3 minutes on the first side without touching, until edges brown and crust develops. Resist the urge to peek or adjust.
- Flip burgers once. Cook second side for 60-90 seconds, then immediately add cheese slices on top of each patty.
- Cover patties with a melting dome or inverted metal bowl for 30-60 seconds to melt cheese quickly without overcooking beef.
- While cheese melts, butter the cut sides of burger buns and toast them face-down on the griddle for 60-90 seconds until golden brown.
- Remove burgers from griddle. Assemble on toasted buns with your choice of toppings: lettuce, tomato, pickles, onions, and sauce. Serve immediately.
Notes
- Sear-First Technique: The 30-60 second sear before smashing prevents beef from sticking to your press or spatula—no parchment paper needed.
- Beef Temperature: Keep beef balls refrigerated until cooking. Cold beef sears better and gives you control over smashing before it cooks too fast.
- Don't Overwork the Meat: Form balls gently like packing a loose snowball. Overworked beef becomes dense and tough.
- Griddle Temperature: 400-450°F is critical. Too hot burns the exterior, too cool produces steamed beef without crust.
- One Flip Only: Resist multiple flips. One flip preserves the crust and keeps juices sealed inside.
- Cheese Timing: Add cheese during the final minute to prevent overcooking the thin patties while waiting for melt.
- Bacon Smash Burger: Add 2 crispy bacon strips per burger
- Mushroom Swiss: Top with sautéed mushrooms and Swiss cheese
- Jalapeño Popper Burger: Add sliced jalapeños, cream cheese, and pepper jack
- Oklahoma Onion Burger: Press thin-sliced onions into beef before smashing
Related BBQ Guides

Elevate Your Seafood Game: Grilled Scallop Salad with Professional Results
Make an elegant grilled sea scallop salad with warm butter sauce. Perfect summer recipe ready in 30 minutes. Restaurant-quality results at home!
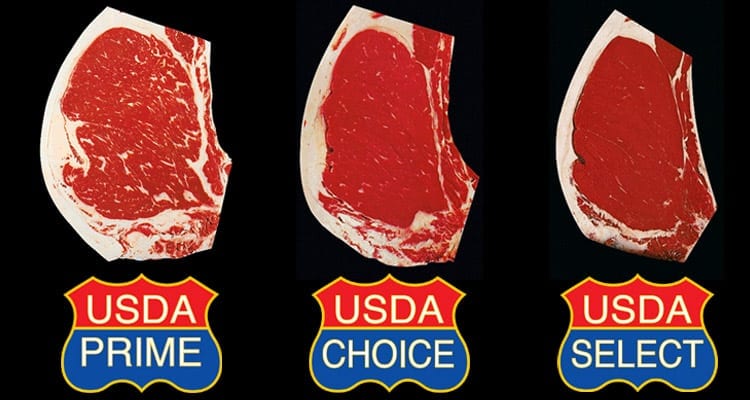
USDA Beef Grades: Select Premium Cuts for Perfect BBQ
Master USDA beef grades. Learn quality indicators, marbling scores & how to choose the best cuts for your BBQ.
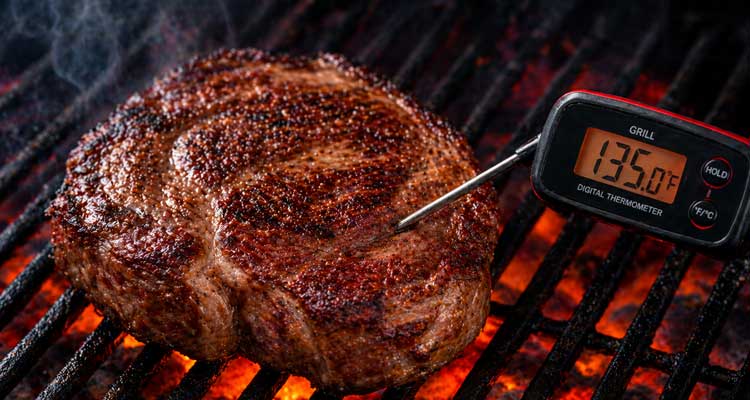
Top Grill Digital Thermometers for Perfect Meat Every Time
Discover the best grill digital thermometer to achieve perfectly cooked meats every time you barbecue. Read our top picks and upgrade your setup today.